Components
In this chapter, we will use Backstage to view and manage the components that make up our application. We will also use Backstage to create a new component and API.
Software Catalog
Return to backstage to check the status of the frontend and gateway entities in the Catalog. Enter your NAMESPACE into the search box to filter the results.
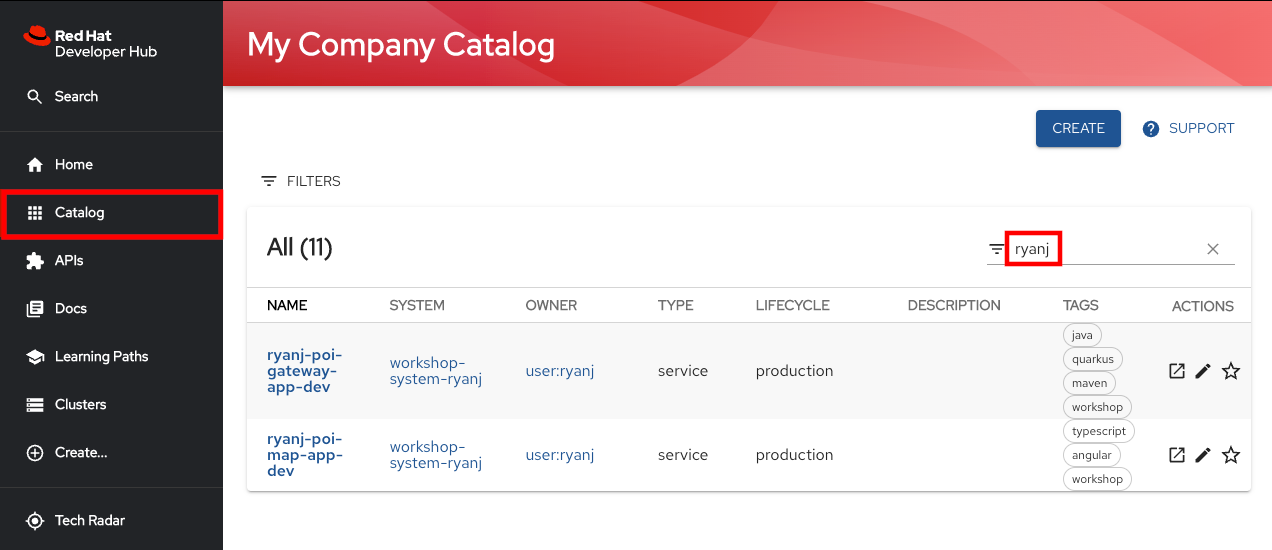
Select your Frontend component entity from the list of results
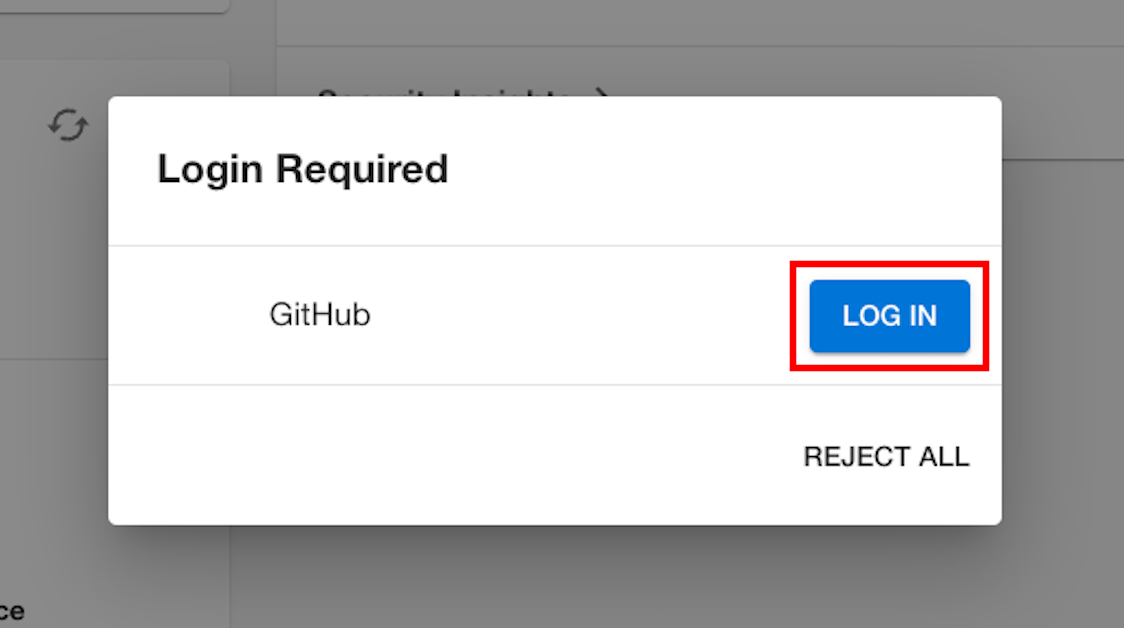
You will be prompted for authentication by the github plugin on your first visit. Click "LOG IN". While you have already logged in to OpenShift and to Backstage, opening a Catalog Entity’s detail screen for the first time requires authentication for the GitHub Plugin, an optional Backstage component.
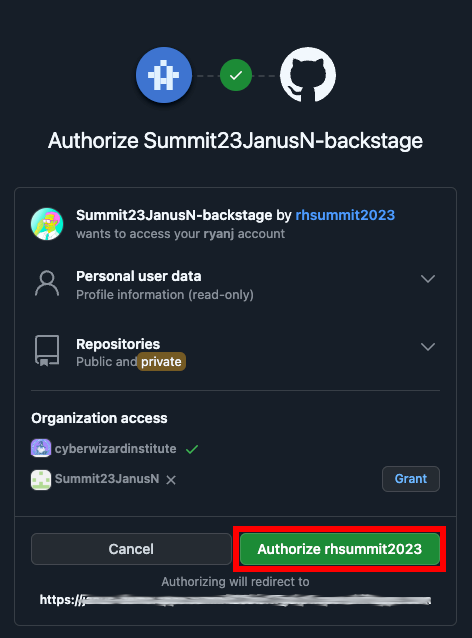
Backstage would like to access your GitHub profile information and repositories. Click "Authorize" to continue.
View the Frontend Component
Take your time exploring the Component Overview page and each of the tabs.
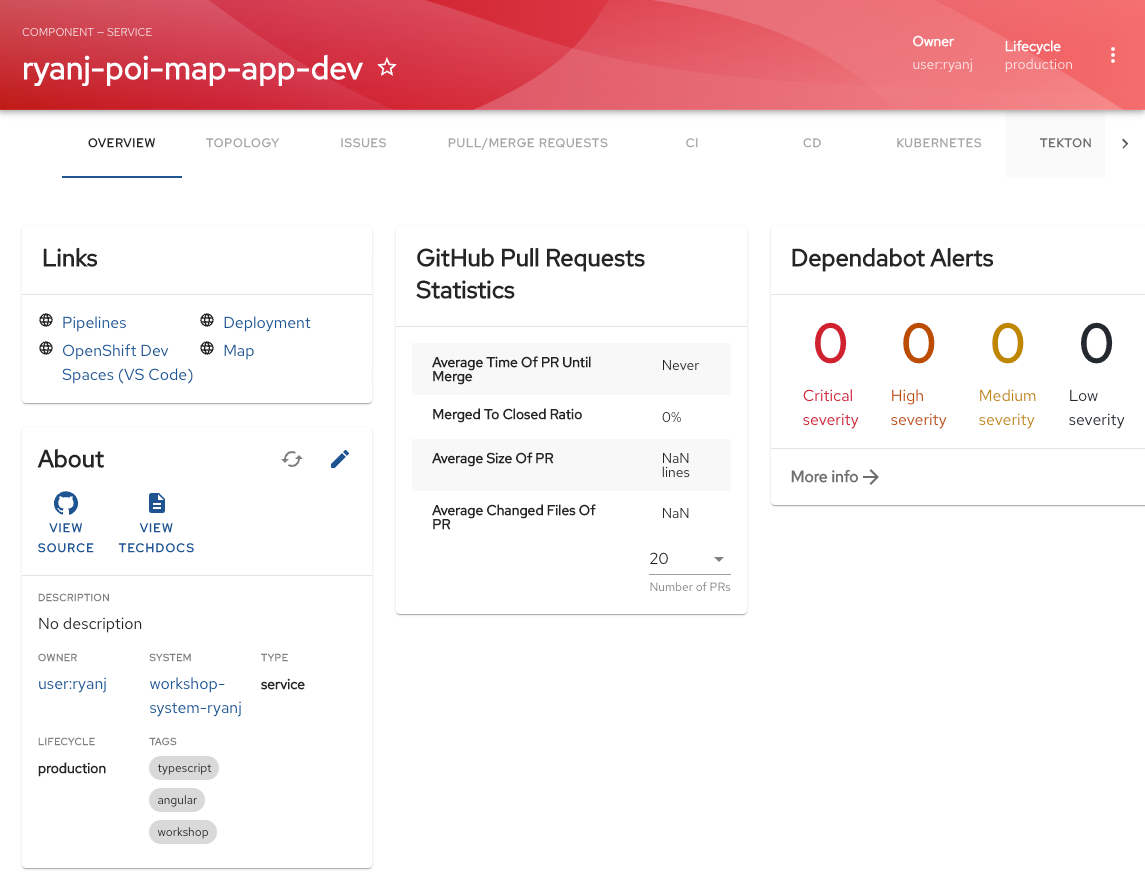
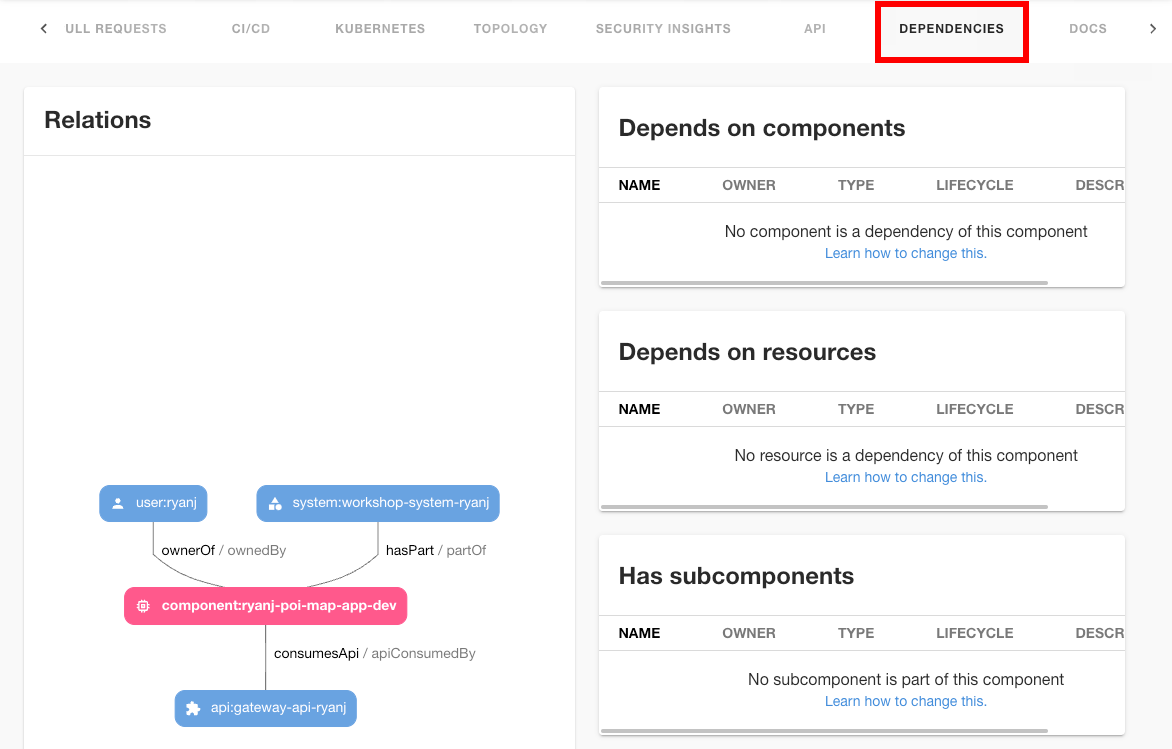
Click on the DEPENDENCIES tab to inspect the component relationship graph. Note that you can scroll the tabs on the Entity details screen to the left and right. You may need to scroll to find the DEPENDENCIES, API and other tabs highlighted in this workshop.
About Plugins
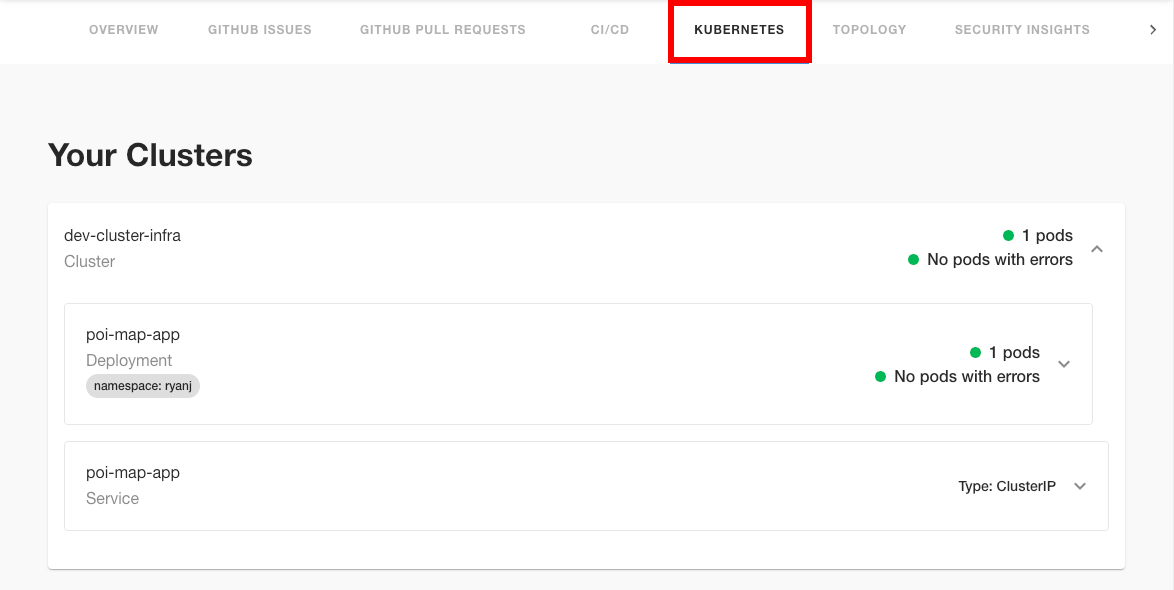
The KUBERNETES tab will show information from the Kubernetes plugin:
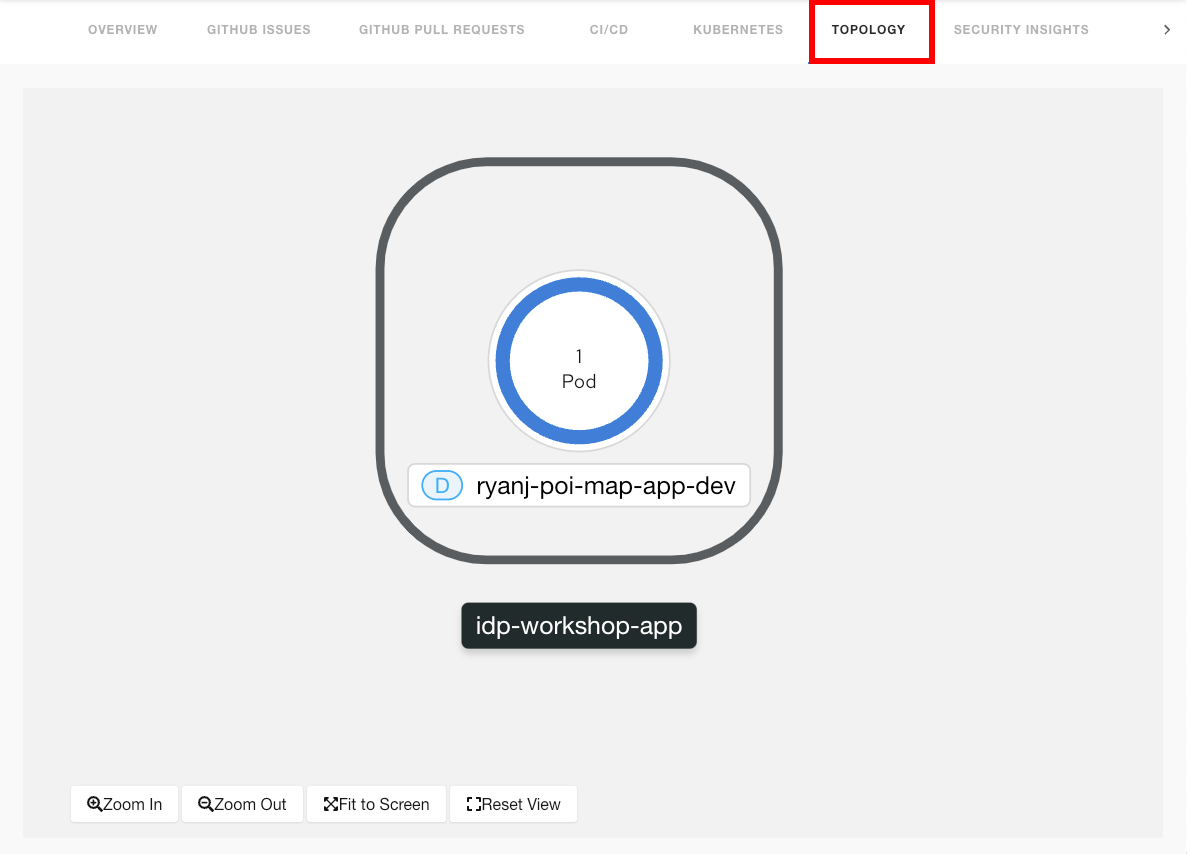
The TOPOLOGY tab will show information from the OpenShift Topology plugin:
View the Gateway
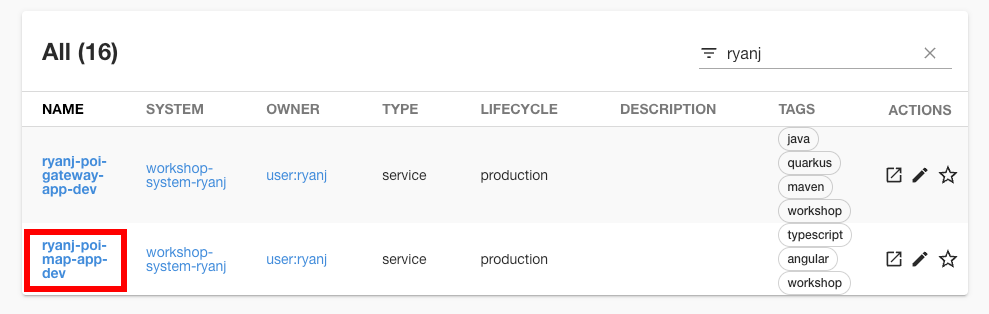
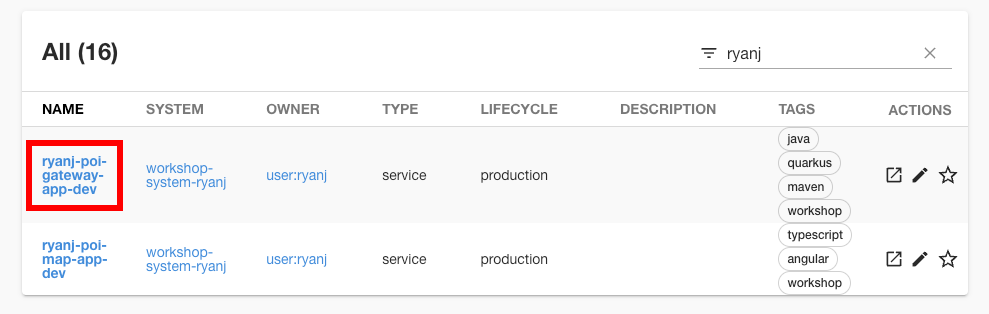
Return to the Backstage Software Catalog to check the status of the gateway entity. Enter your NAMESPACE into the search box to filter the results.
Select your Gateway component entity from the list of results
Take your time exploring the Component Overview page and each of the tabs
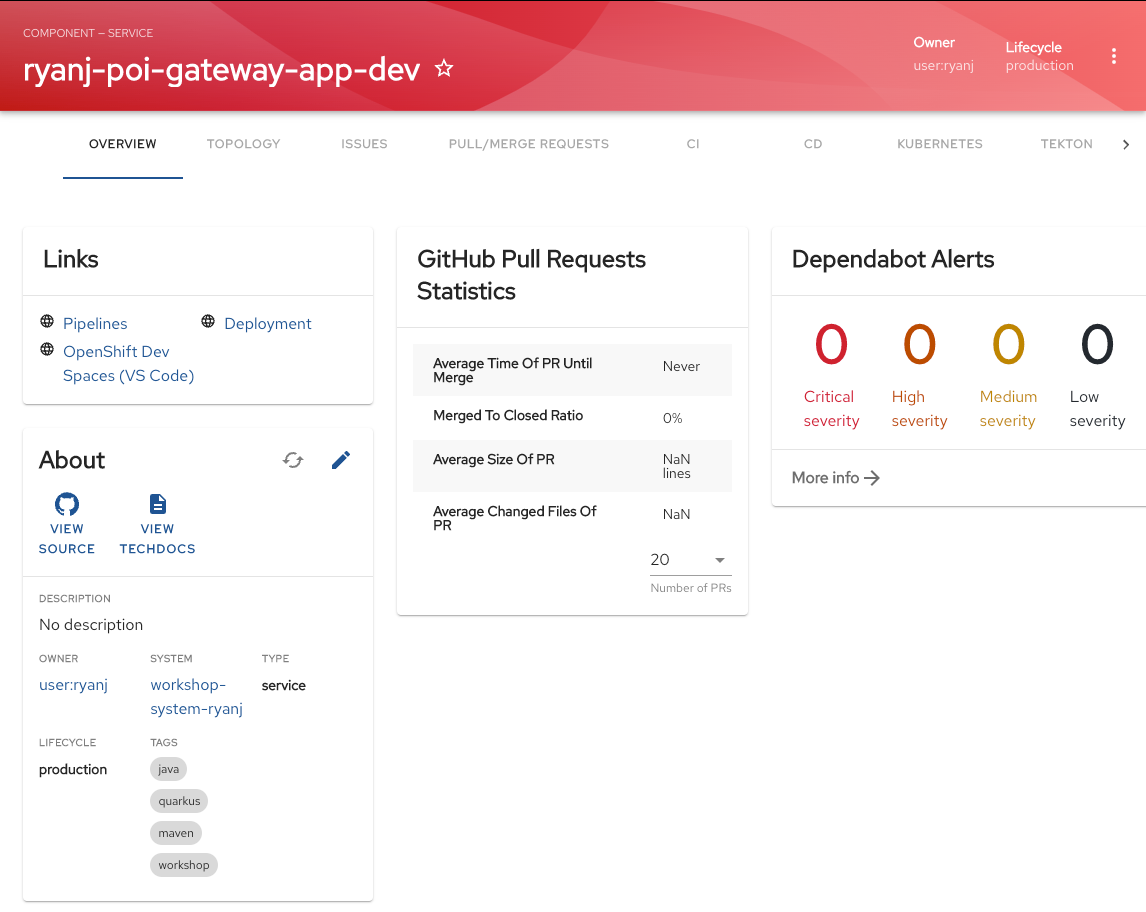
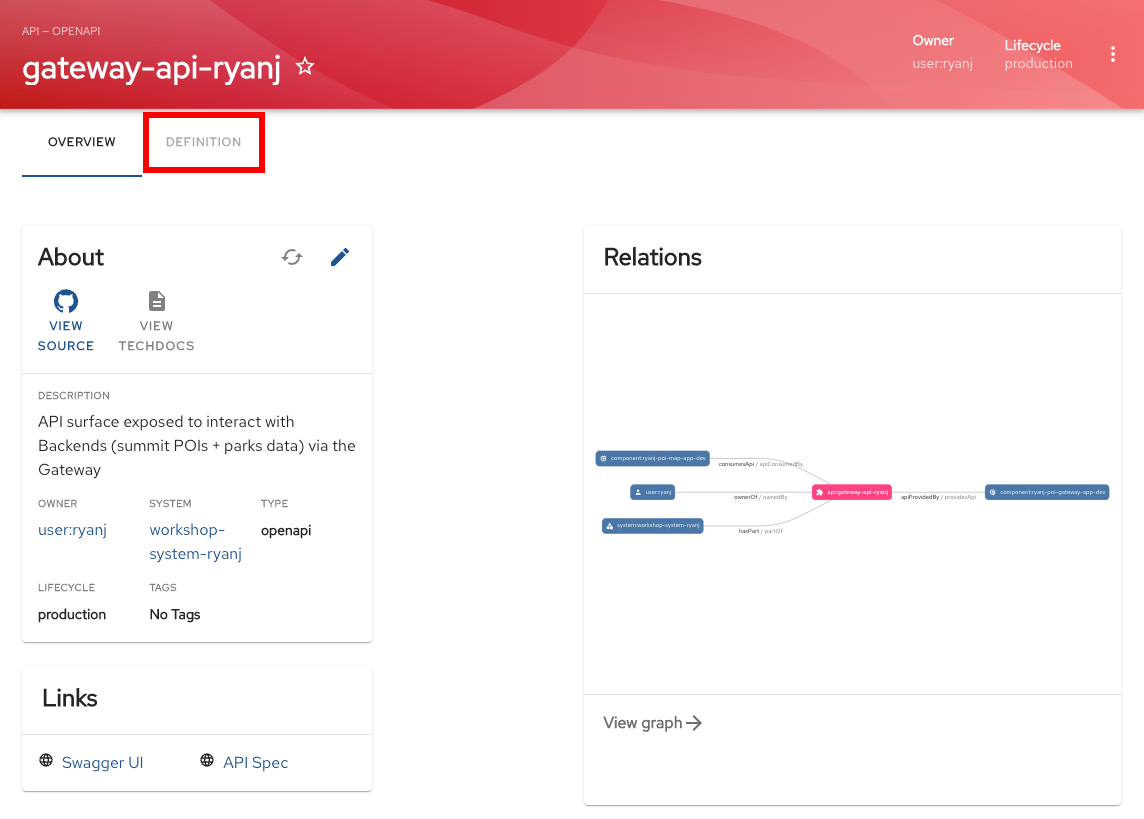
Click on the API tab to explore the API that is provided by this software component. Select the available API:

From the API overview page, select "DEFINITION" to see the Relationship graph:
Use OpenAPI to explore exposed endpoints:
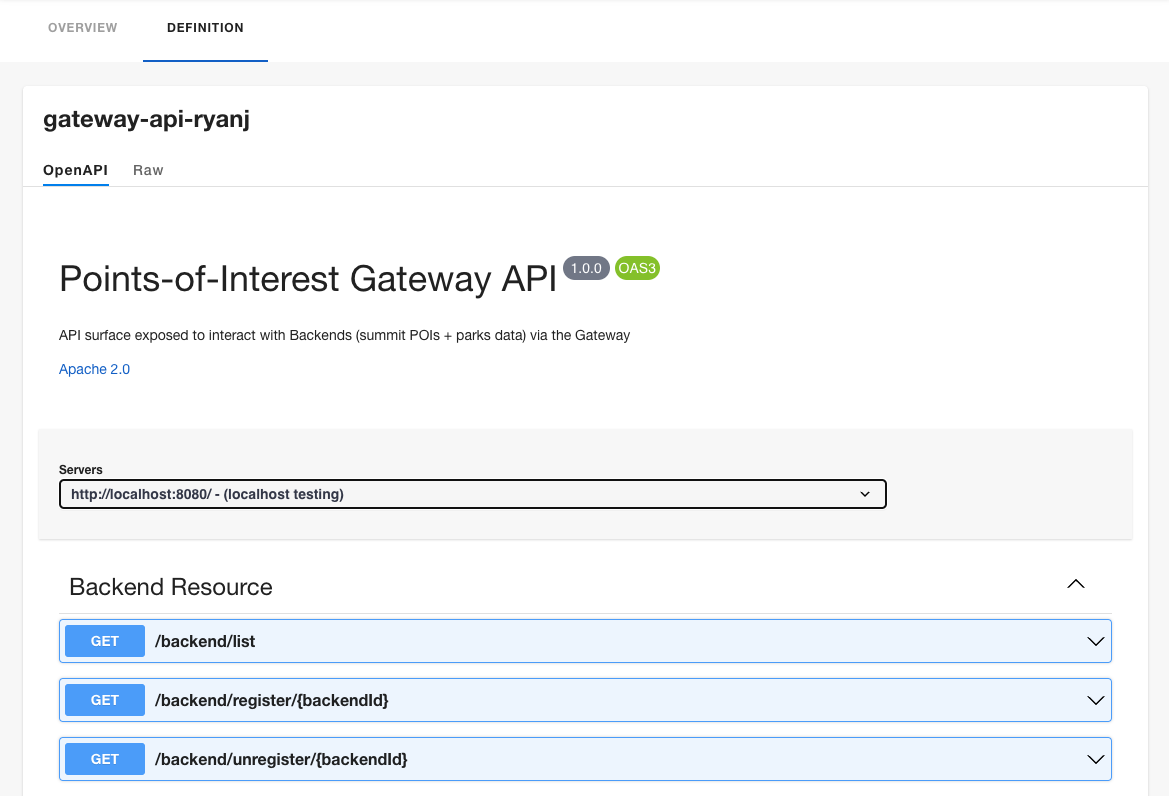
The gateway’s /backend endpoint collection can be used to link a new Backend component and API. We will do this in the next section.
Create from the Backend Template
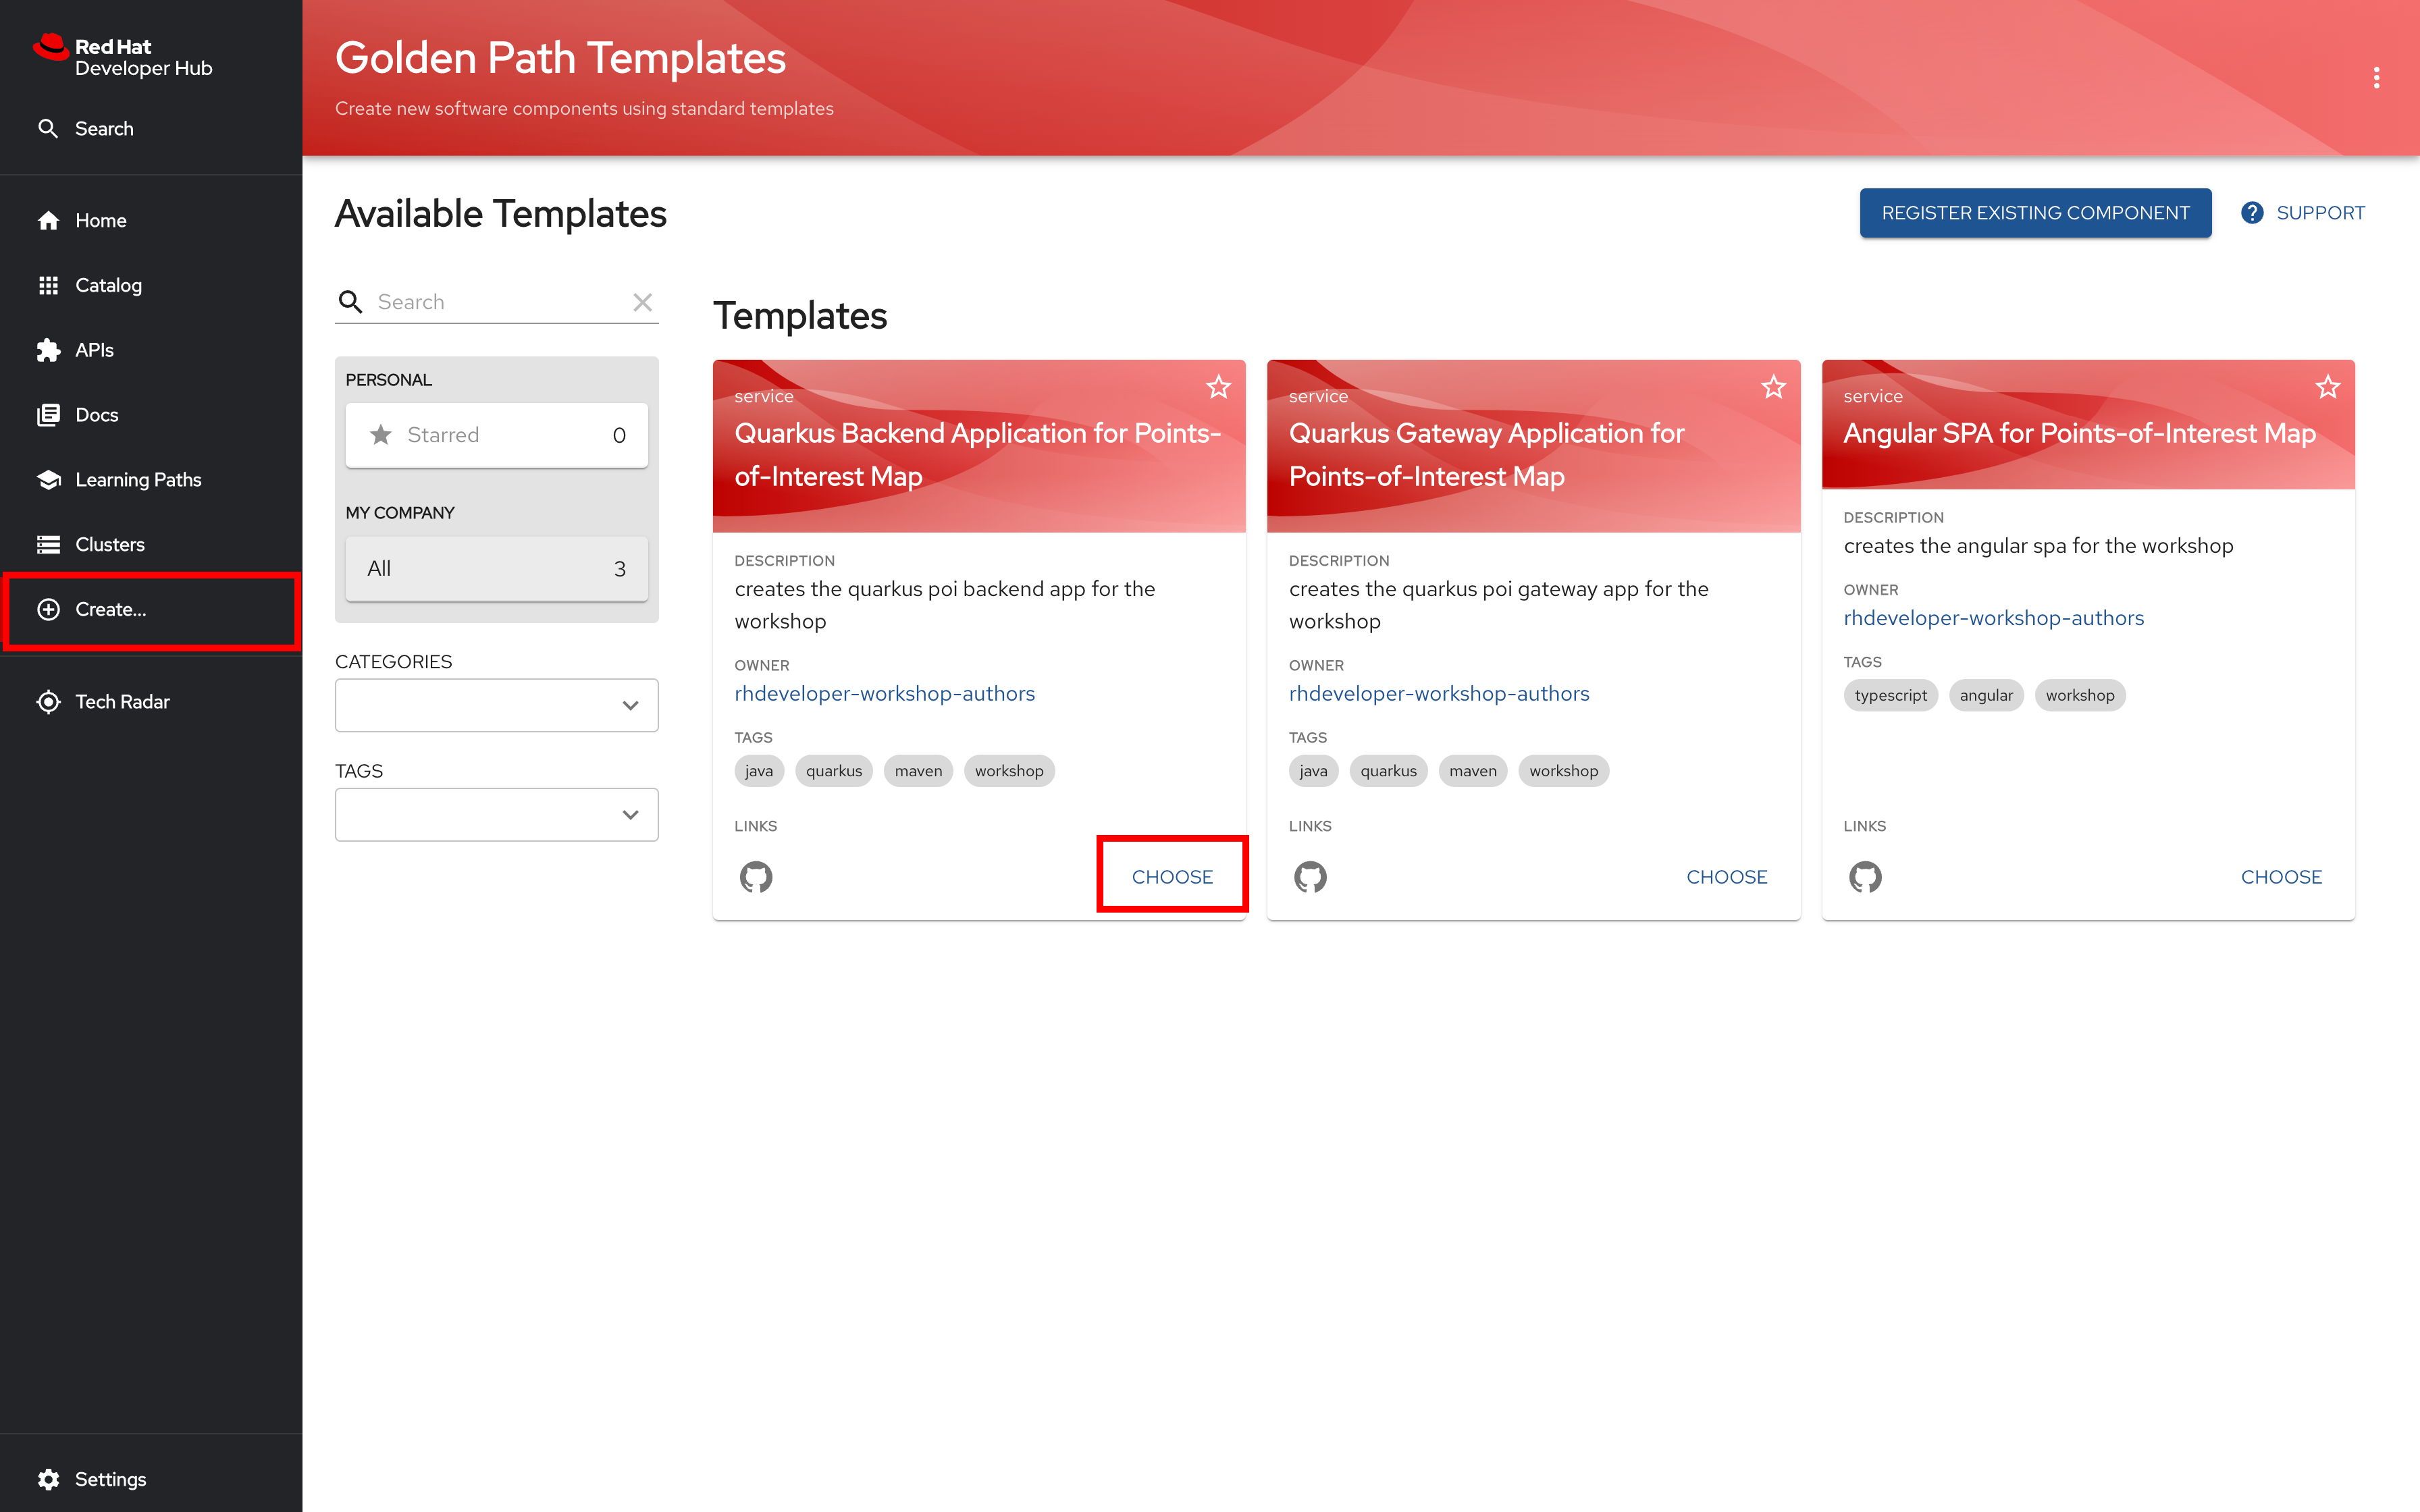
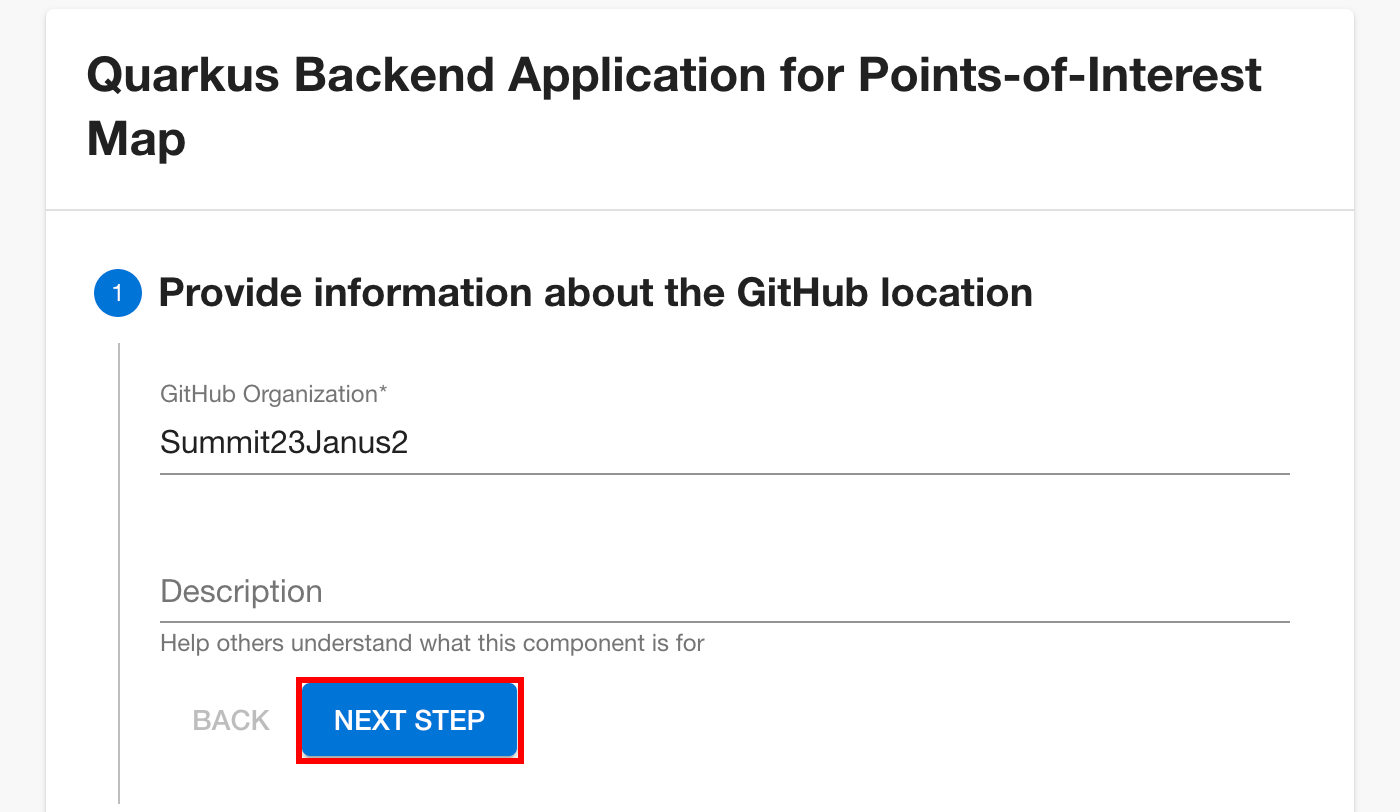
Return to the Create… menu to Choose the Backend Template, Quarkus Backend Application for Points-of-Interest Map.
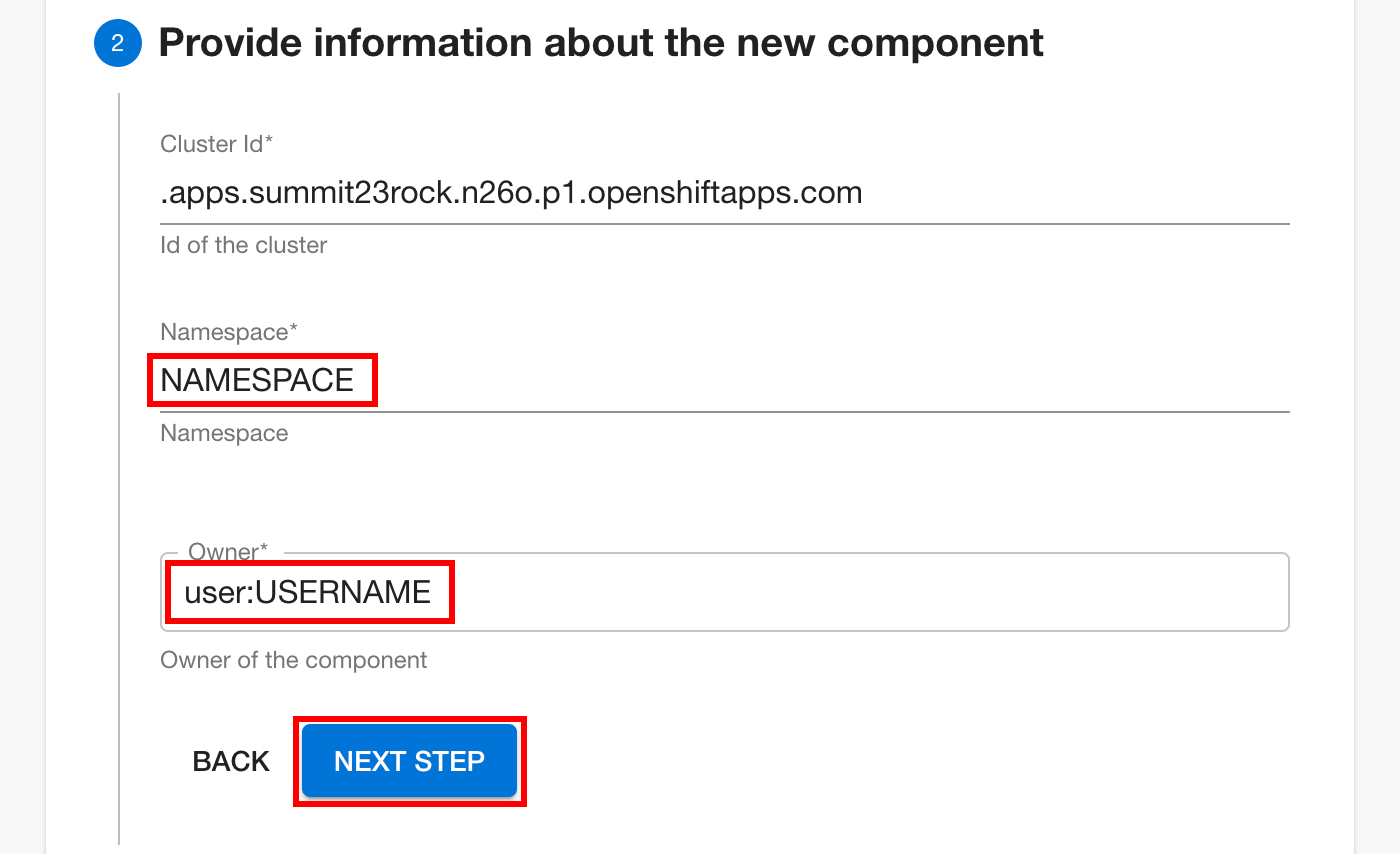
Insert your NAMESPACE and USERNAME as directed in the following example:
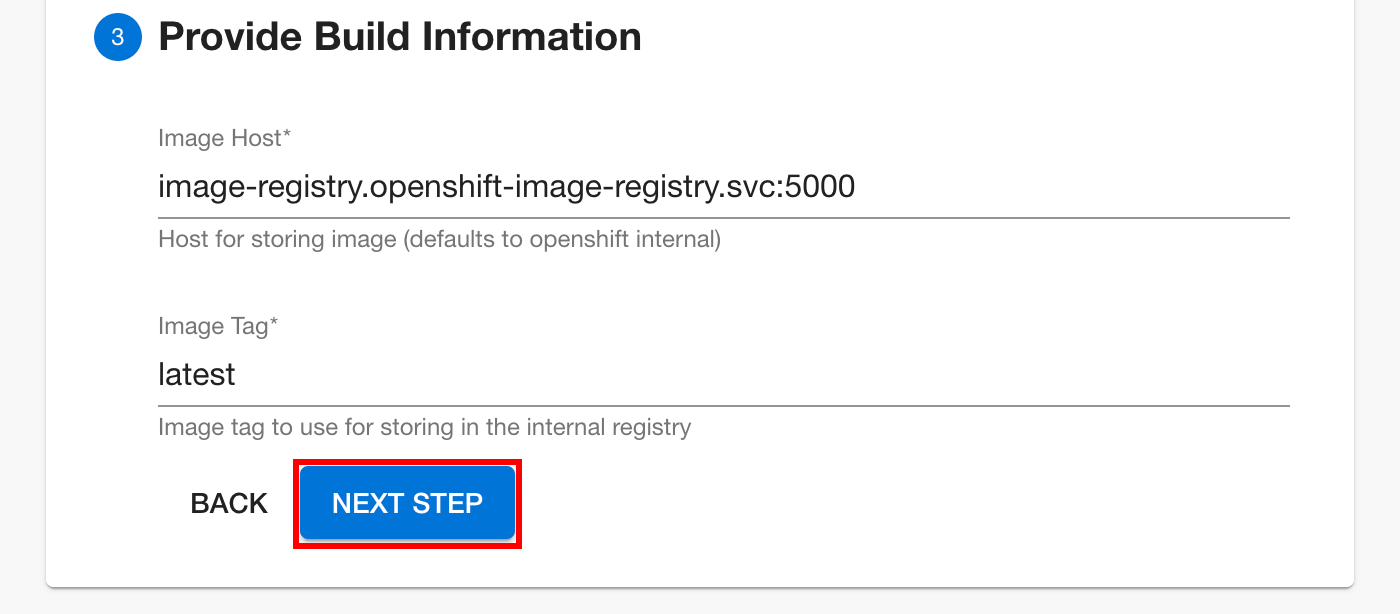
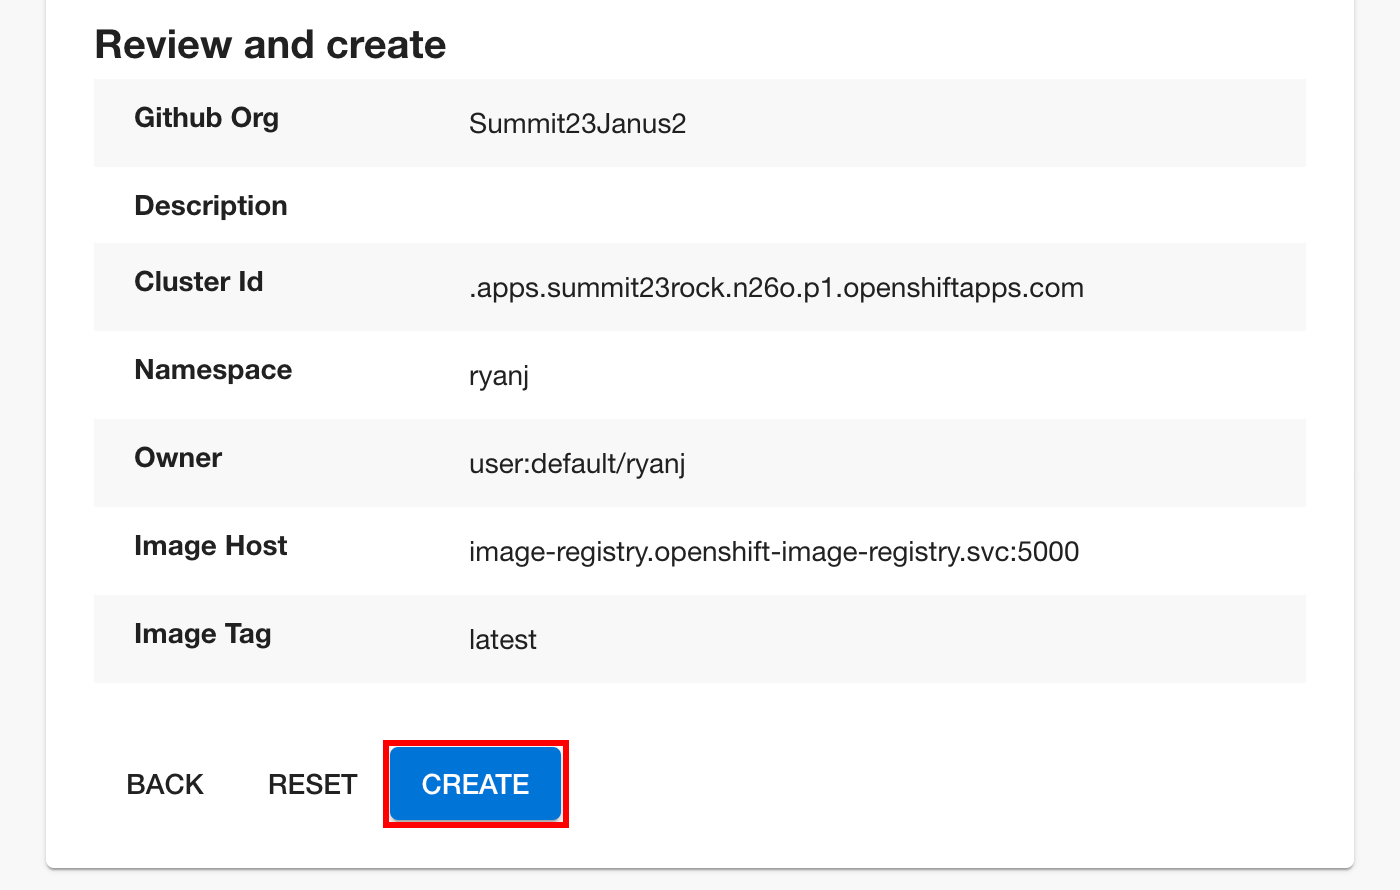
Review and create your backend component:
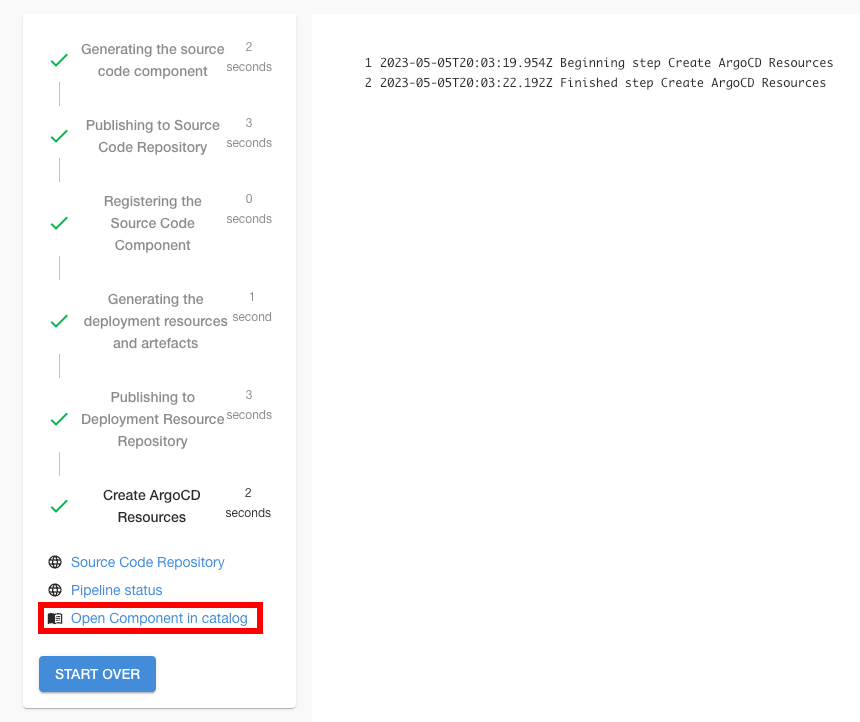
Open the new Backend component using the Software Catalog:
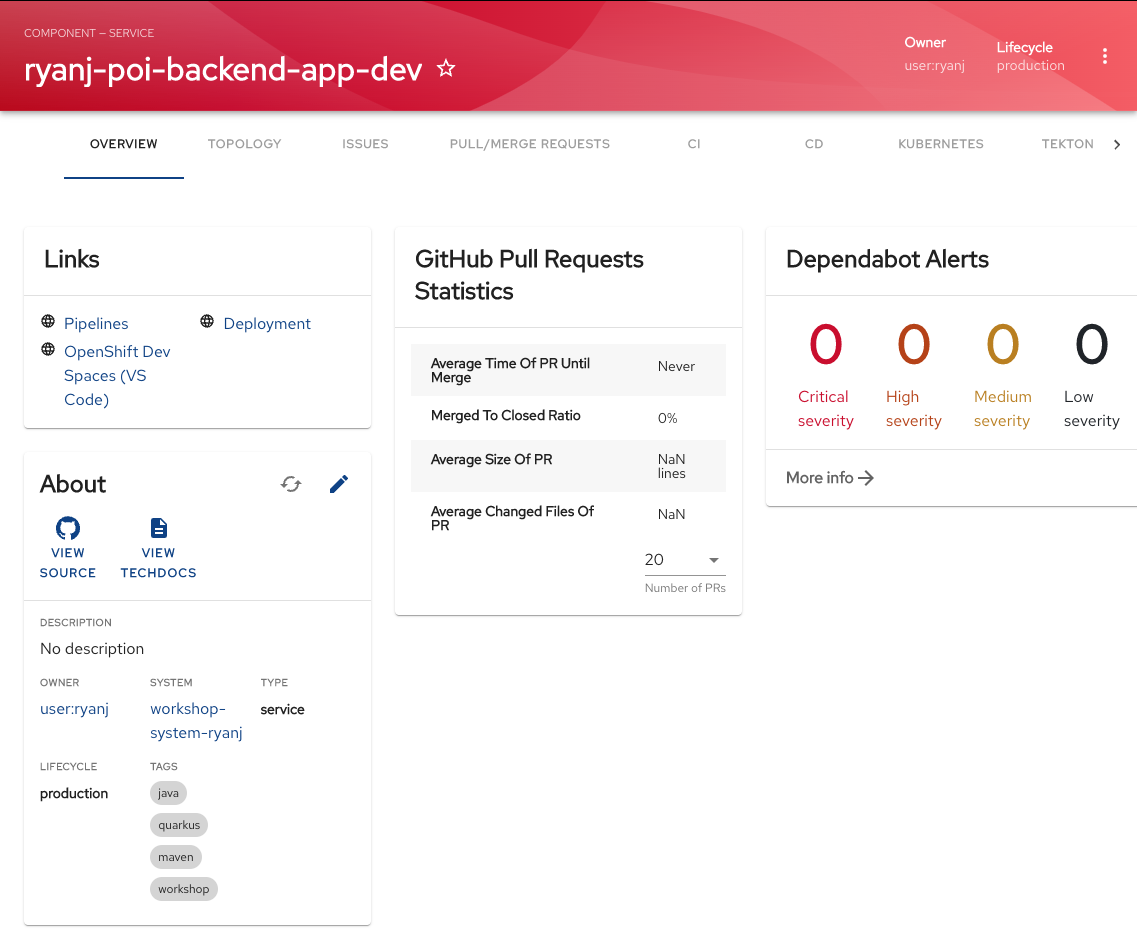
View the resulting Components
View the resulting component and plugins.
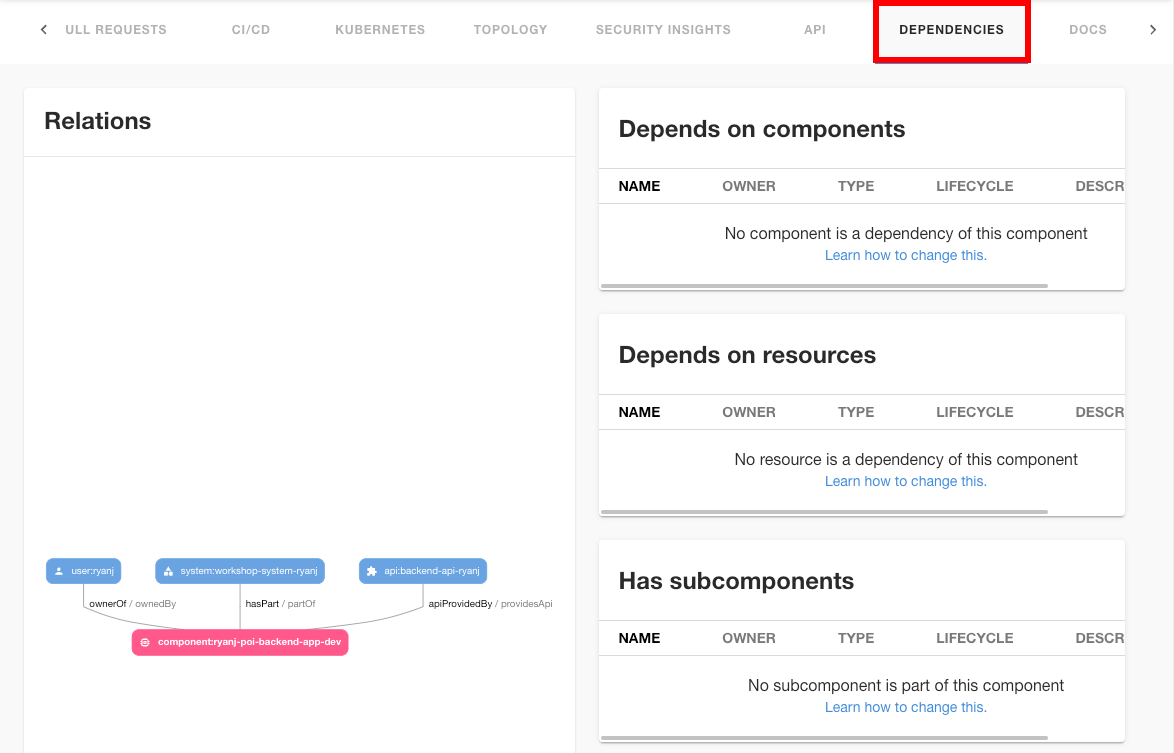
Select the DEPENDENCIES tab to view the component relationship graph:
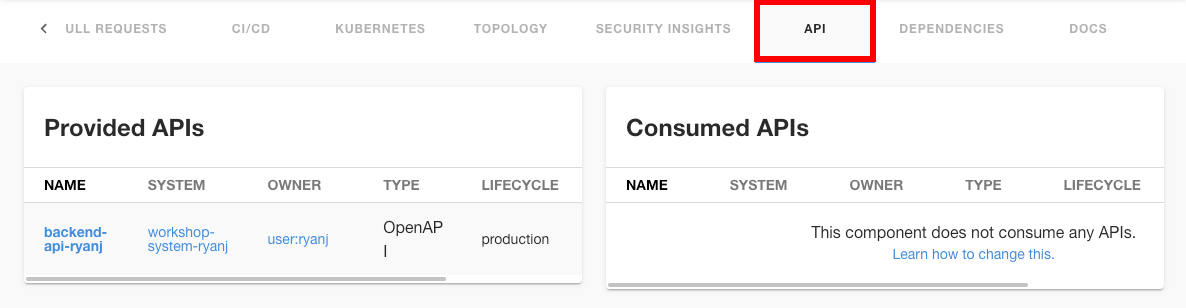
Select the API tab to browse the provided APIs:
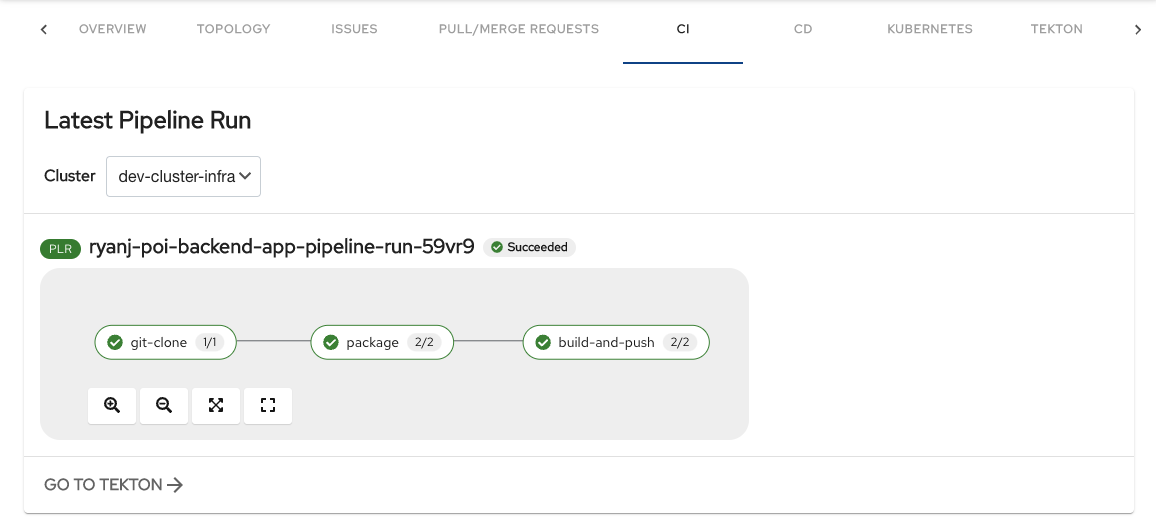
Select the CI tab to check the resulting pipelines for activity:
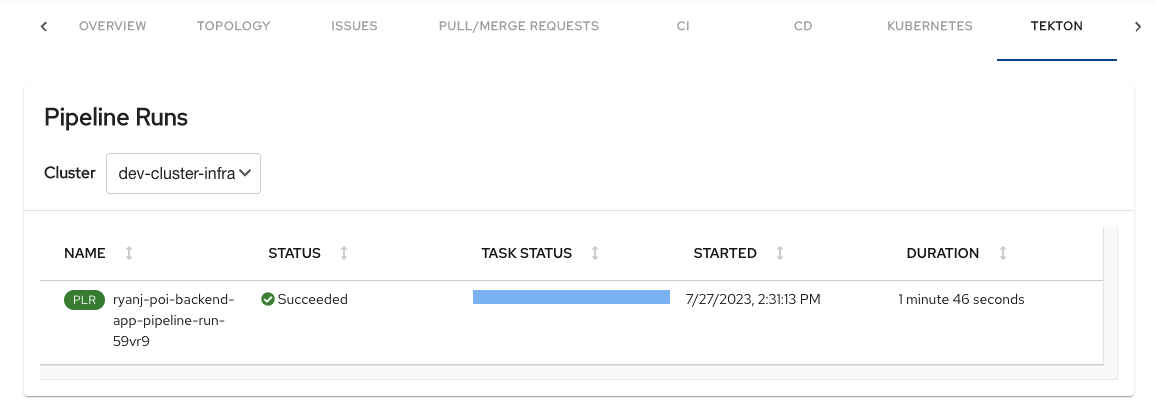
View Tekton Pipelines using the Tekton tab:
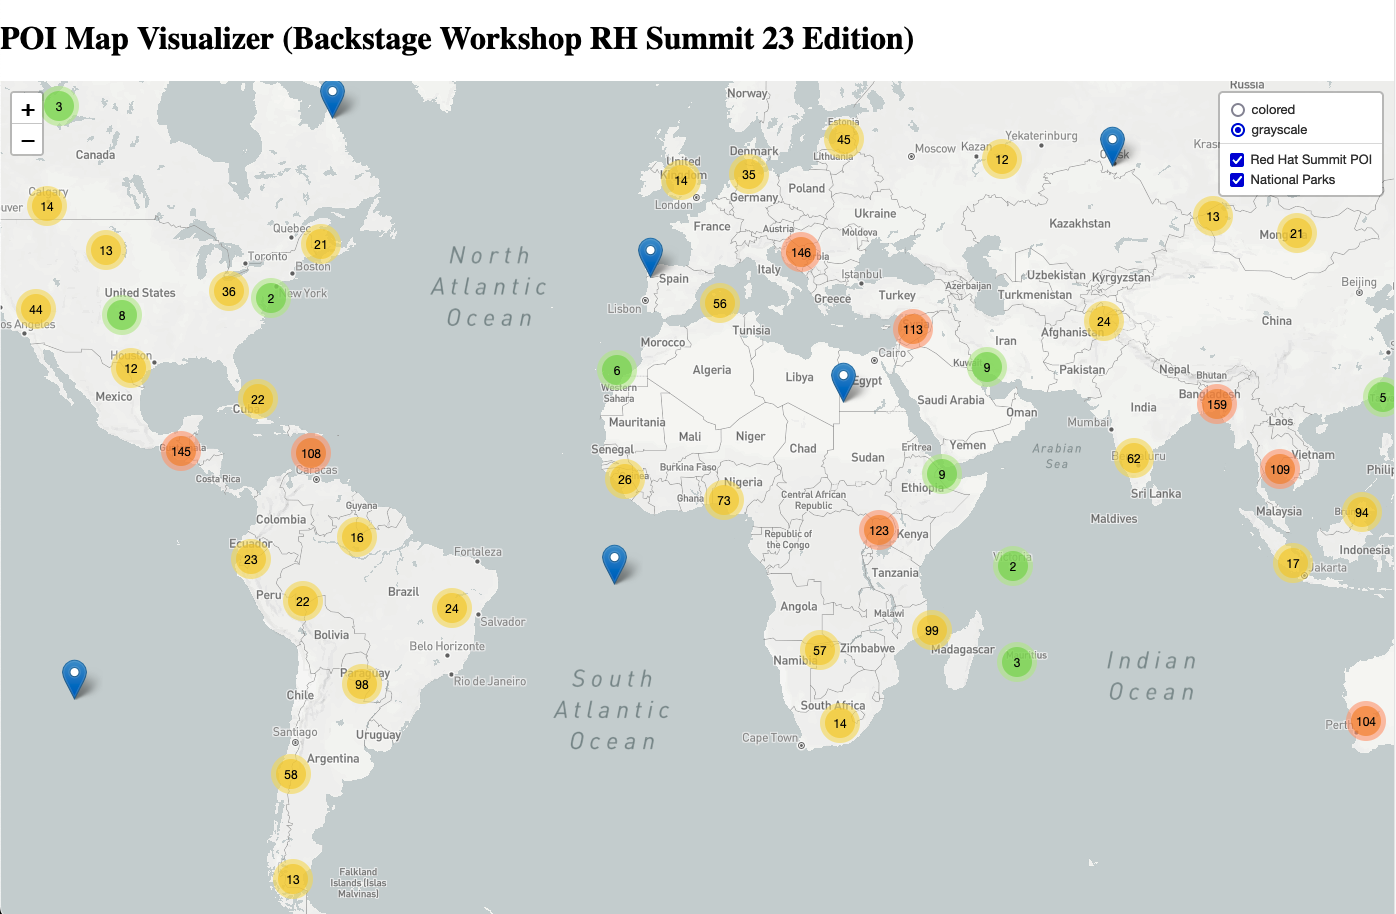
When the pipeline build has completed successfully, reload the map to check for results!
Congratulations on completing Chapter 3!
In the next chapter, we will complete our Golden Path by using OpenShift Dev Spaces to make a simple code contribution.